User:Rooshi49/Rooshi's Guide to Inventory
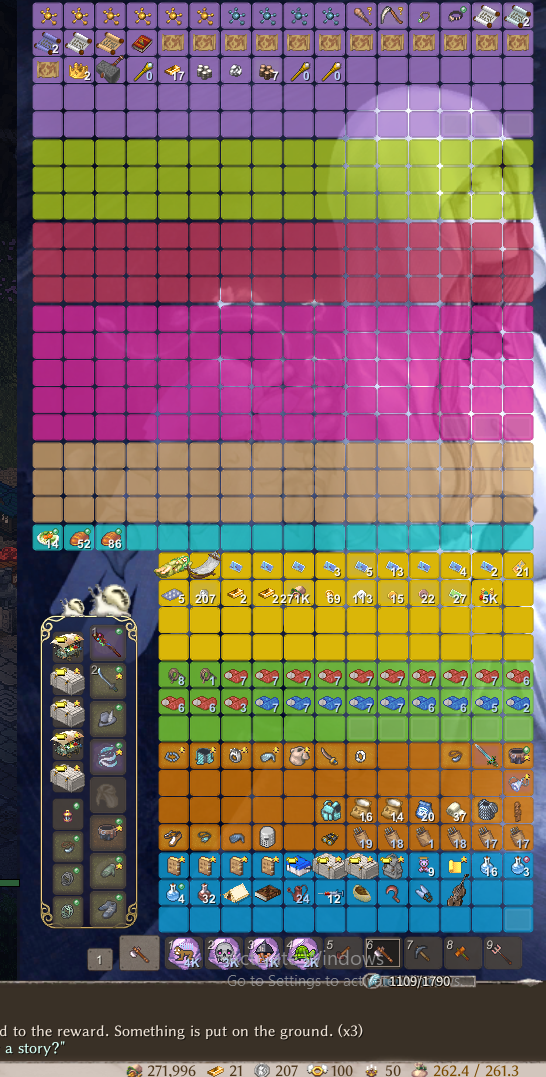
Hi I'm Rooshi. I get asked how to make your inventory look like the picture below....
This guide is to help people just starting out to make a nice clean inventory setup.
I'm going to teach you how to do it with a simple guide with these steps:
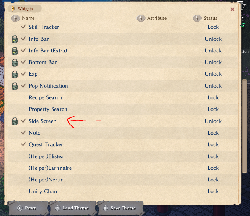
- Hit escape and go to widgets and scroll down until you see the side screen widget and turn it on. (see Fig. 1) If you have boxes, skip step 2.
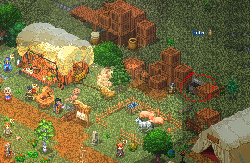
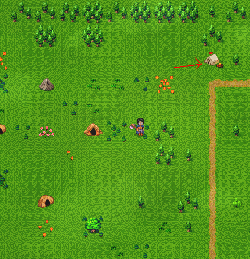
- Go to the north of your starting settlement / zone and go to Tinker's Camp. (see Fig. 4)Pick the white flowers on the ground in that zone or surrounding zones and sell them to get some starting currency.In the Tinker's Camp (see Fig. 3) you will find a shipping chest, place any item inside and return to your settlement.When you return to your settlement you will find that there is a container on the ground. Pick it up. This is your first boxRepeat until you have as many boxes as you desire. Each one will cost 25 orens.
- Now hit escape and go to configs. Find the "Game" tab and select "Show Advanced Menus".
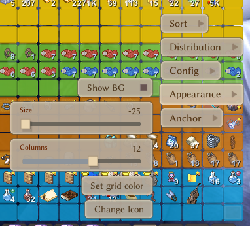
- Open your boxes and note that on the side of the boxes a wrench is selectable called config. Click it and go to Appearance (see Fig. 3). Change the size to -25 and the columns to 10. Change the grid color to your preference.
- Since we have one box set up correctly, go to the "Config" section of the inventory config and select copy settings.Go to your other boxes and select paste settings. Do this for all your boxes.
- Fit your boxes in the side screen. When done press R over an empty space of the side screen and change the width in settings to make it nice and snug. As you stack your boxes from top to bottom, make sure to go to "Config" section in the inventory configs and select both "Don't close with right-click" and "Fixed window position" when they're in place. This will make it harder for you to accidently close the inventory screens and make it so you can't accidently move them.
- When everything is in place and both "Don't close with right-click" and "Fixed window position" are selected for all your bags, then go to the "Distribution" section of the inventory config and change the top box's priority to (however many boxes you have). All subsequent boxes will have that number -1, going from top to bottom.
- Congratulations!!! If somehow you're still confused and I sent you this then I wrote this guide wrong. Feel free to ask me any questions. If you found this guide without me sending it to you, then that's craaaaaaaaaaaaaazy. I wish you the best of luck in customizing your inventory.

